🎉 Up to 70% Off Selected ItemsShop Sale


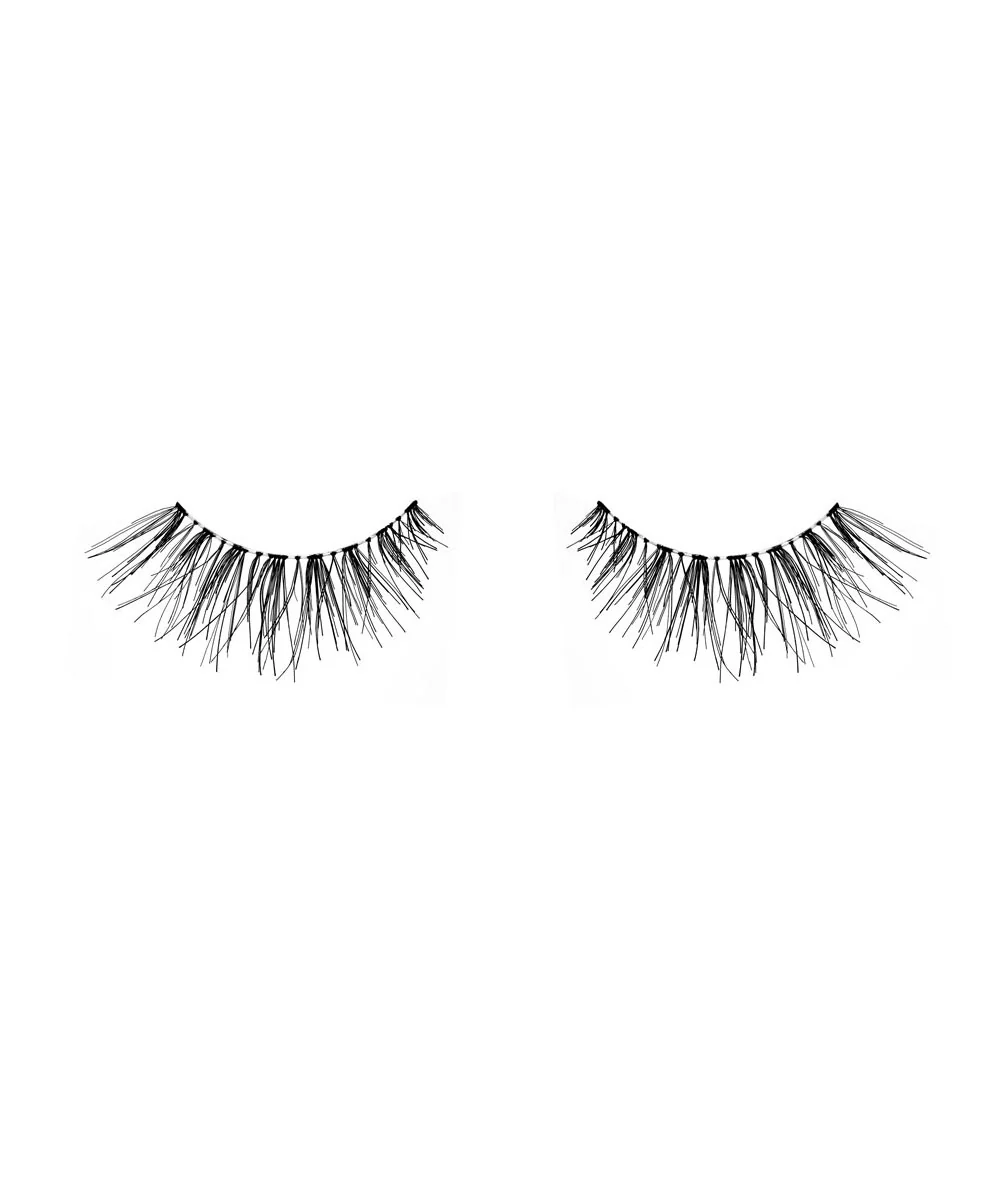
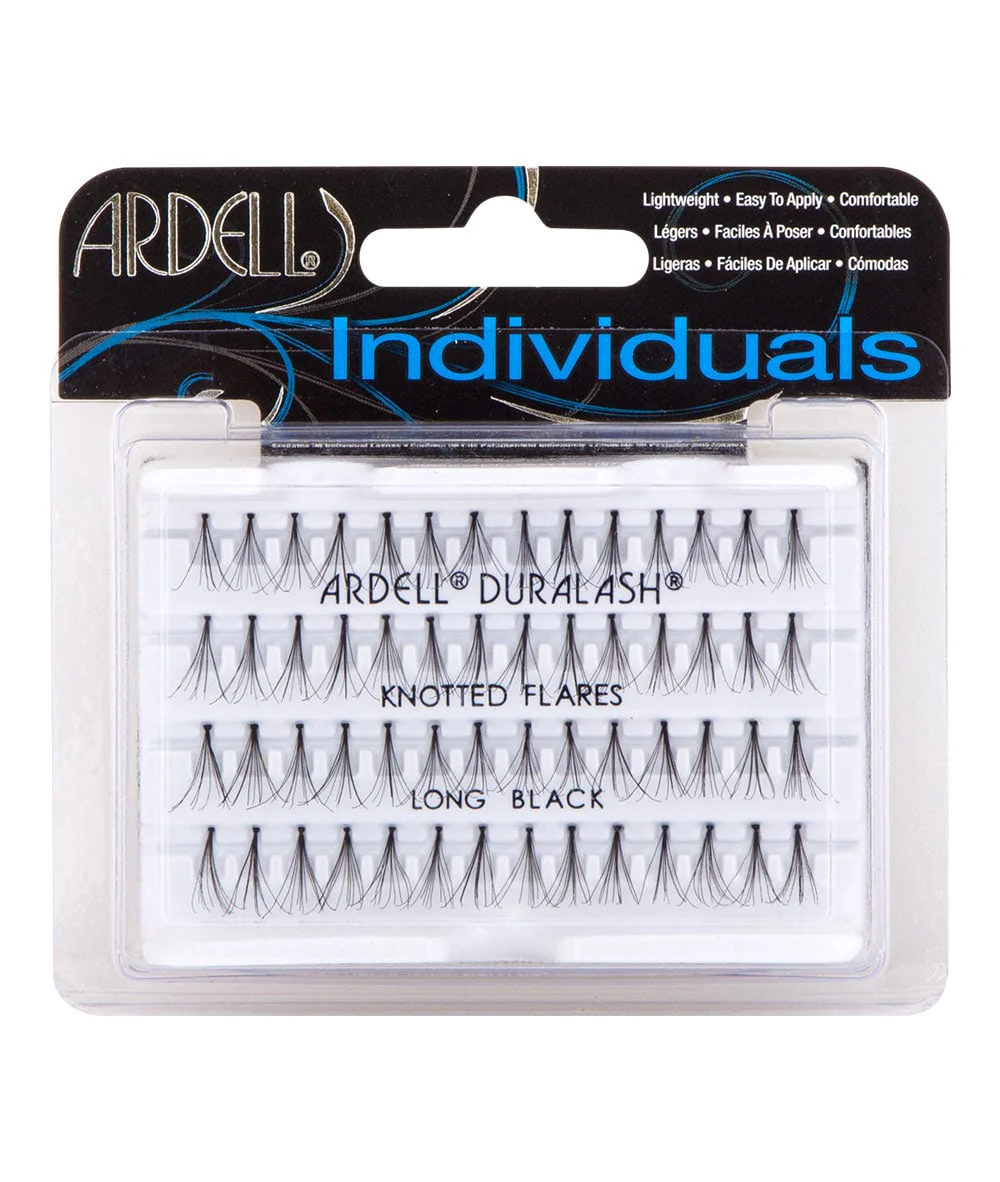
Kiss Professional I-Envy Knot Free Ultra Black [Long] #Kpe06Ud
KISS PROFESSIONAL I-ENVY KNOT FREE ULTRA BLACK [LONG] #KPE06UD
WHAT IT IS
Tapered-end 3D Individual Lash for Seamless Fluttery Look
FEATURES
- 3D Multi-Layer Effect
- 2X Volume
- Seamless Fluttery Look
- Tapered Finish
- Knotted
?How To Use
- Cleanse your eyes and eyelashes using a non-oily makeup remover to ensure the lashes are clean and any makeup residue is eliminated.
- Pour a couple of iENVY Individual Lash Glue into a glue dish or clear surface. You don¡¯t need to pour too much out as a little goes a long way.
- Using the tweezers, carefully lift an individual lash cluster from the tray, being extra careful not to damage or misshape the lashes.
- Gently dip the tip the lash, ensuring to pick up just a tiny amount of adhesive.
- Position the individual lash directly on top of your natural lashes, as close to the lash line as possible, without touching the eyelid.
- Continue the previous steps adding as many or as few lashes as you like along the lash line, to build up the volume you desire.
$9.99
Kiss Professional I-Envy Knot Free Ultra Black [Long] #Kpe06Ud—
$9.99
Product Information
Product Information
Shipping & Returns
Shipping & Returns
Description
KISS PROFESSIONAL I-ENVY KNOT FREE ULTRA BLACK [LONG] #KPE06UD
WHAT IT IS
Tapered-end 3D Individual Lash for Seamless Fluttery Look
FEATURES
- 3D Multi-Layer Effect
- 2X Volume
- Seamless Fluttery Look
- Tapered Finish
- Knotted
?How To Use
- Cleanse your eyes and eyelashes using a non-oily makeup remover to ensure the lashes are clean and any makeup residue is eliminated.
- Pour a couple of iENVY Individual Lash Glue into a glue dish or clear surface. You don¡¯t need to pour too much out as a little goes a long way.
- Using the tweezers, carefully lift an individual lash cluster from the tray, being extra careful not to damage or misshape the lashes.
- Gently dip the tip the lash, ensuring to pick up just a tiny amount of adhesive.
- Position the individual lash directly on top of your natural lashes, as close to the lash line as possible, without touching the eyelid.
- Continue the previous steps adding as many or as few lashes as you like along the lash line, to build up the volume you desire.